Let’s cut the bs, clear skin, a tan, and blindingly white teeth are non negotiable trait if you want to stop looking like a medieval peasant. Yellow teeth scream unclean, unattractive, and unworthy.
1. Whitening Gels: Carbamide Peroxide vs. Hydrogen Peroxide
Carbamide Peroxide: Beginner’s Cope
Carbamide Peroxide is like the training wheels of teeth whitening. It’s weaker but less painful, so if you’re a low-pain-tolerance goblin, start here.

Synopsis of carbamide peroxide teeth-whitening chemistry.• Strengths: Comes in 5%–44%. Start at 20% to see if you can handle it without crying. Only drop to 10% if your teeth are overly sensitive. If you’ve got the balls for it, step up to 35% or 44% after your first cycle.
• Products I Trust:
• 20% Opalescence ($24): Decent for getting started.
• 35% Rapid Effects ($8): Dirt cheap but legit—it mogs most overpriced trash on the market.
Hydrogen Peroxide: The Alpha Chemical
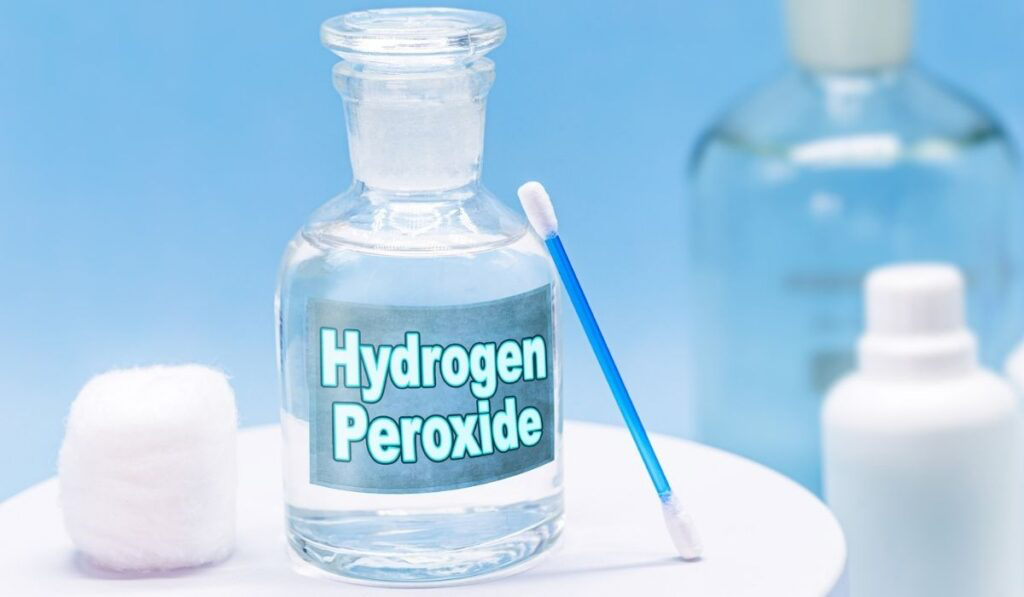
Hydrogen Peroxide is 3x stronger than Carbamide Peroxide and hits harder than a freight train. This is the real shit for anyone serious about whitening.
• Strength: Maxes out at 12%, which is roughly equivalent to 35% Carbamide Peroxide. Anything higher is hard to source (and probably illegal).
• What it does: Dissolves dentin stains (the yellow inner part of your teeth) by breaking down hydroxyapatite and making the dentin translucent. The result? Only the white enamel is visible.
• Risks: Burns your gums if you’re reckless. Without a gingival barrier, you’ll feel pain that makes you question your life choices.
If Carbamide doesn’t cut it then switch to this. But don’t be an idiot protect your gums or you’ll end up with white spots and sensitivity that lasts for days.
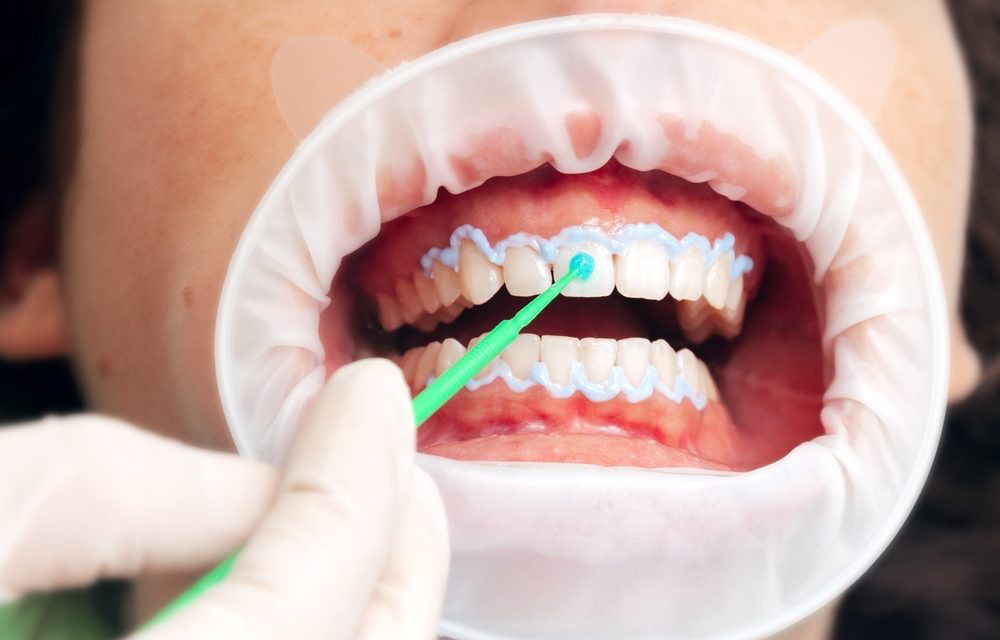
How to Use Whitening Gels (The Right Way)
1. Trays: You need custom trays to hold the gel against your teeth. You can’t just slap it on and hope for the best.
2. Session Time: 60 minutes per session. Less is a waste; more doesn’t help.
3. Post-Treatment: Apply remineralizing gel after every session to rehydrate your teeth and prevent sensitivity.
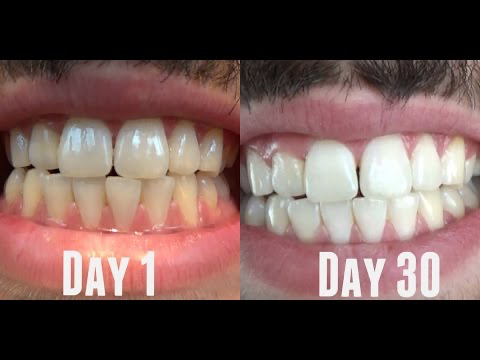
Cycle Length:
• Whiten daily for 14 days straight. Studies show this gives 90% of total results.
• Recovery: Wait 6 months before starting another cycle. Overdoing it will wreck your enamel, and then you’re finished.
2. Oil Pulling: Budget-Friendly Maintenance
• What It Is: Swishing coconut oil in your mouth to remove bacteria and improve gum health.
• How to Do It:
1. Take a fingertip of coconut oil.
2. Swish for 5–30 minutes. Work your way up if you’re weak.
3. Spit into the trash (NOT your sink unless you love clogged drains).
Healthier gums, fresher breath, and subtle whitening over time.
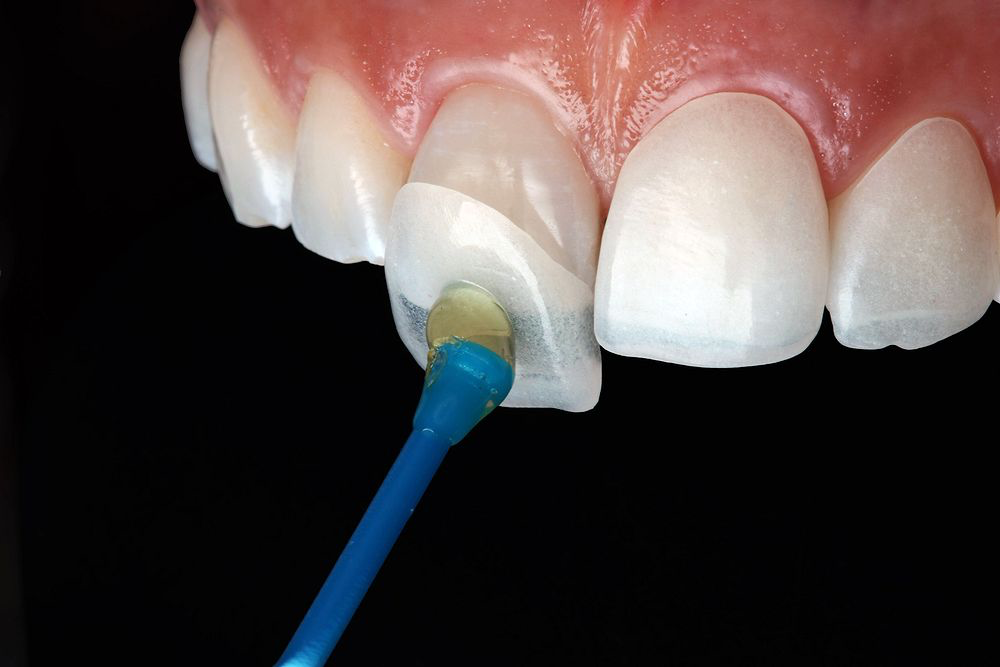
3. Laser Whitening: Richcels Only
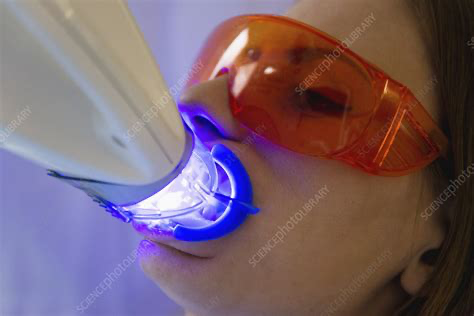
If you’re lazy, rich, or both, laser whitening is your shortcut.
• Cost: $100–$1,000 depending on how fancy your dentist is.
• Procedure:
• Protective gel is applied to your gums.
• Whitening gel goes on your teeth.
• Laser activates the gel.
3. Crest Whitening Strips: Normie-Level Cope
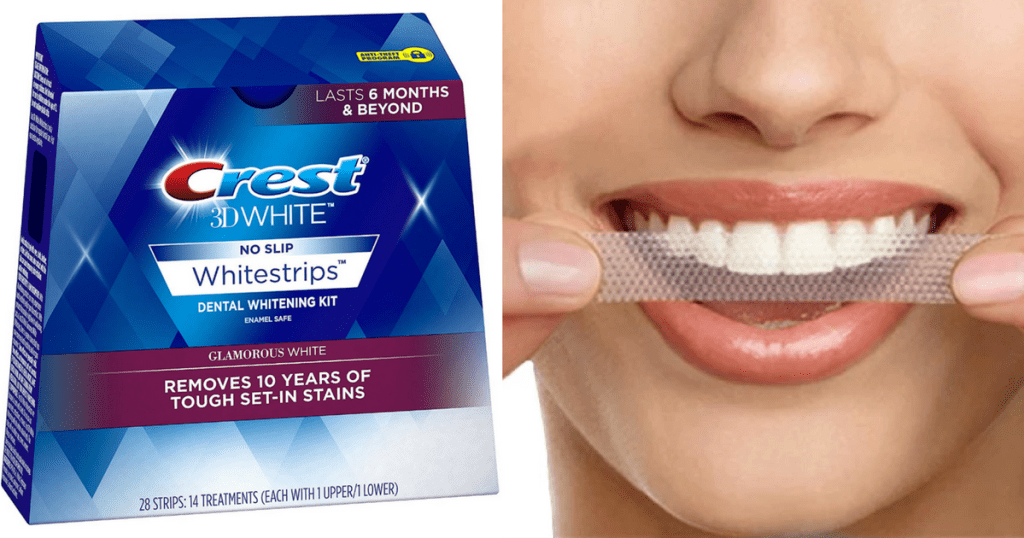
These are fine if you’re way too lazy anda fag.
• What It Is: Thin plastic strips coated with peroxide. Slap them on your teeth and hope for the best.
• Warning: NEVER use strips containing chlorine dioxide they’ll nuke your enamel like pool cleaner.
5. Dental Veneers: Perma Fraud
Also for those with teeth so bad they’re beyond saving, veneers are your only hope.
• What It Is: Porcelain shells that bond to the front of your teeth, giving you a perfect smile.
• Cost: $500–$2,500 per tooth.
• Downside: Permanent, expensive, and requires maintenance.